Home improvements come in various forms, some more intricate and rewarding than others. One such venture is building a ground level deck in your backyard, an undertaking that can fundamentally revolutionise your outdoor space. A deck creates a versatile platform to set up a lounging area, outdoor dining, or even house a luxurious hot tub. What’s more, it can significantly escalate the value of your house while offering an excellent opportunity to hone your DIY skills. Here’s a basic guide on how to construct a simple 2.4m x 2.4m ground-level deck.
Gathering Your Materials and Equipment
To embark on this transformative project, you will first need to gather the following materials and equipment.
Materials Required for a Ground Level Deck
- Decking Boards: You will need enough boards to cover an area of 2.4m x 2.4m. The precise count depends on the board width.
- Joists: Ideally, 5-6 joists of 2.4m length are needed, which should be spaced at 40cm to 60cm intervals.
- Beams: You will require two beams, each of 2.4m length.
- Concrete Blocks: Four of these will be placed at each corner. Additional one or two may be needed to support the beams’ centre.
- Deck Screws: Choose screws that are rated for outdoor use.
- Joist Hangers and Angle Brackets: These components will secure the joists to the beams, ensuring extra stability.
- Gravel: Although optional, gravel can improve the drainage beneath your deck.


As a registered Amazon Associate the owners of this website can earn commission from qualifying purchases in accordance with the Amazon associates Affiliate program. By Clicking on these images you will be transferred to amazons UK website.
Equipment Required:
- Circular Saw
- Drill and Electric Screwdriver plus Bits
- Level
- Tape Measure
- Shovel
- Carpenter’s Square
- Pencil
- Safety Equipment: Safety glasses, work gloves, and sturdy footwear.


As a registered Amazon Associate the owners of this website can earn commission from qualifying purchases in accordance with the Amazon associates Affiliate program. By Clicking on these images you will be transferred to amazons UK website.
Mastering the Art: Step-by-Step Guide to Building a Ground Level Deck
After you’ve gathered your arsenal, follow these steps to bring your ground-level deck to life.
- Planning and Design: Begin with a detailed plan for your deck, including all necessary measurements. Contemplate the location, intended use, and the terrain. The ground should slightly slope for efficient water run-off, and the deck design should facilitate good ventilation.
- Material Selection: Opt for pressure-treated wood that is designed for ground contact, especially if the bottom of your deck frame will be less than 6″ off the ground or partially buried.
- Plan the Foundation and Leveling: Prep the ground where your deck will reside. Install concrete blocks at each corner of the deck or rest the deck structure on a gravel bed for improved drainage.
- Lay the Beams: Position your deck beams on top of the concrete blocks. These beams should be level and elevated enough off the ground to allow proper ventilation. Use your spirit level to check, and check, and check again to make sure.
- Attach Anchors / Outer Joists: Install angle brackets at the corners of the deck, where the joists and beams intersect.
- Attach Inner Joists: Affix the inner joists to the beam faces at regular intervals using the joist hangers. Add inner supports between the joists to strengthen the decking base if needed.
- Lay the Decking: Arrange the decking boards perpendicular to the joists. Secure them tightly with decking screws , leaving a small gap between each board for air circulation and to accommodate expansion and contraction.
- Trim the Edges: Employ a circular saw to trim any excess overhang, resulting in a neat and even deck edge.
- Seal the Decking: Weather proof your hard work with a few coats of Deck Sealant. You can find some here on amazon.
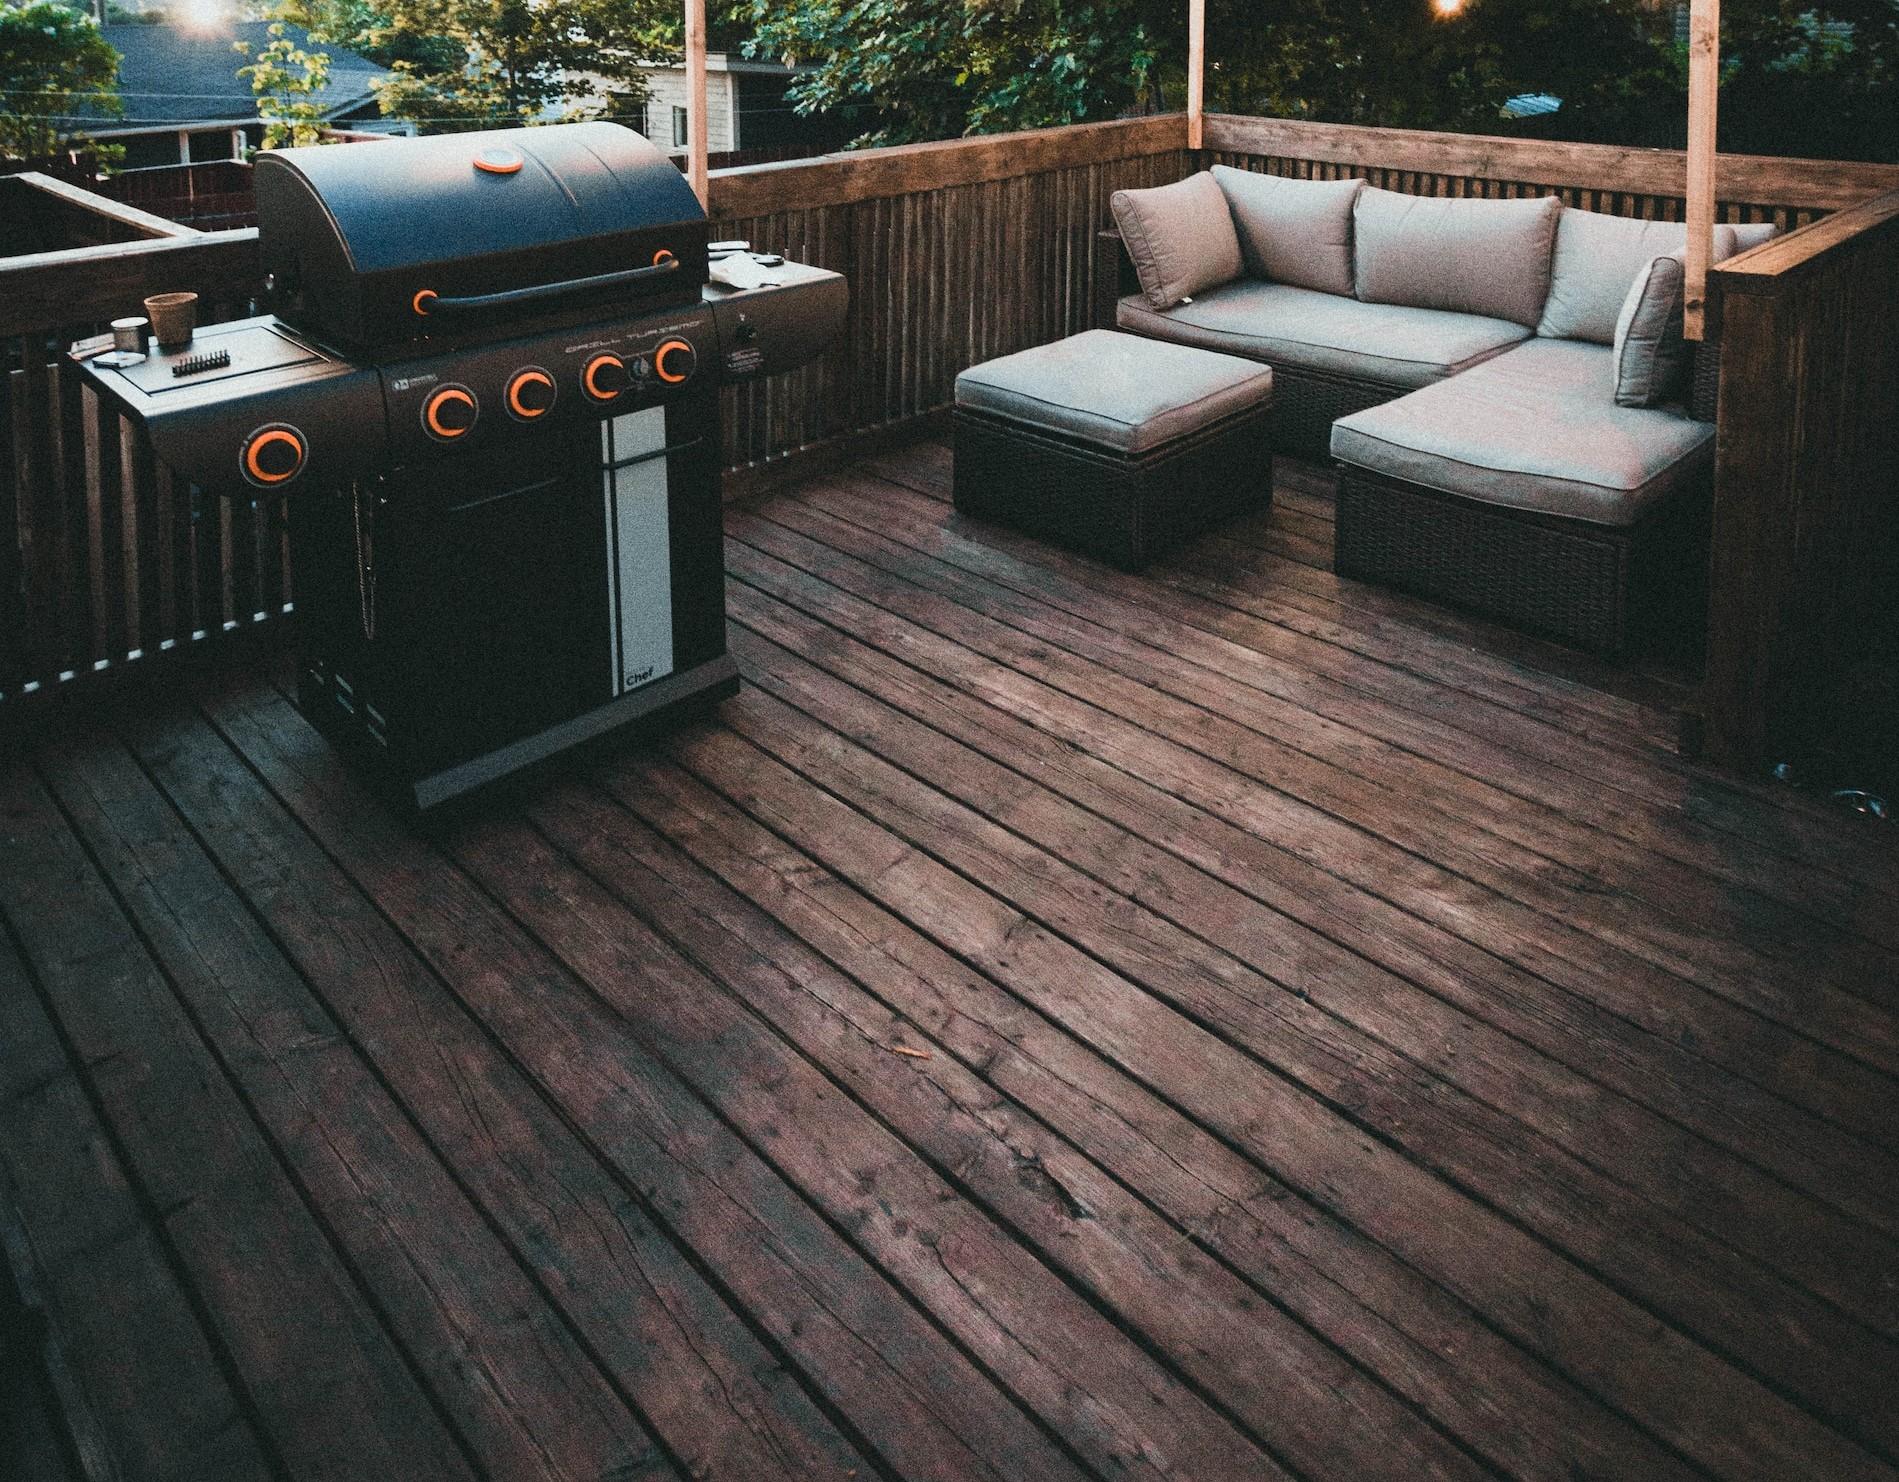
- Enjoy Your Deck: Upon the completion of your deck, it’s time to revel in your handiwork! Adorn it with some comfy outdoor furniture, a grill, or even a fire pit. It’s the perfect venue for a barbeque party or a peaceful evening under the stars.

The above is a quick summary of the basics needed to build a quick garden ground level deck. For a wide choice of materials visit this B&Q guide and for a more in-depth guidance to building a more complicated deck check out this YouTube tutorial .
Remember, creating a deck is a substantial project that demands meticulous planning and execution. Always adhere to safety guidelines when handling tools and materials. Embrace this journey of transformation, and happy building!